Getting started with Spectra Analyze
This guide walks you through your first malware analysis with Spectra Analyze. You will configure the Spectra Intelligence cloud connection, upload a file, view the analysis report, and understand the classification result.
Prerequisites
Before you begin:
- Spectra Analyze is deployed and accessible on your network (hardware appliance, OVA, or cloud instance)
- You have login credentials (username and password)
- Your browser is up to date (Chrome recommended)
If you have not yet deployed Spectra Analyze, see Setup and initial configuration.
Your initial administrator username and password are provided by ReversingLabs Support. Change the default password after your first login.
Step 1: Configure the Spectra Intelligence cloud connection
Spectra Analyze enriches every analyzed file with data from Spectra Intelligence — a cloud threat intelligence service that provides scanner results, threat names, and community classifications. Without this connection, Spectra Analyze still performs local static analysis, but enrichment data will be missing from reports.
- Navigate to Administration > Configuration > Spectra Intelligence.
- Enter your Spectra Intelligence username and password.
- Select Test connection to confirm the appliance can reach
appliance-api.reversinglabs.com. - Select Save.
If the connection test fails, verify that your network allows outbound HTTPS (port 443) to appliance-api.reversinglabs.com. You may also need to allowlist the Cloudflare IP ranges and 185.64.132.0/22. See IP/domain allowlisting for details.
If you do not yet have Spectra Intelligence credentials, contact ReversingLabs Support.
Step 2: Access the web interface
Open your browser and navigate to the Spectra Analyze appliance URL provided by your administrator (for example, https://spectra-analyze.example.com).
Log in with your credentials. After logging in, you land on the Dashboard, which shows recent analysis activity and system status.
Step 3: Upload a file for analysis
- Select Submit from the header bar.
- Select the file you want to analyze. Supported formats include executables, archives, documents, and mobile apps — over 400 formats in total.
- Optionally add a comment or tags to help organize your results later.
- Select Upload.
Spectra Analyze submits the file to Spectra Core for static analysis. Most files complete analysis within seconds.
Step 4: View the analysis report
When analysis completes, the file appears in your results list. Select the file to open its Sample Details page.
The report includes:
- Classification — Malicious, Suspicious, Goodware, or Unknown, with a risk score from 0 to 10
- Threat name — For malicious files, the malware family name
- Indicators — Extracted behavioral indicators mapped to MITRE ATT&CK tactics
- Extracted files — Child files unpacked from archives or installers
- Metadata — File hashes, format details, certificate information
See Sample Details for a full explanation of every report field.
Step 5: Understand your results
Spectra Analyze classifies every analyzed file and assigns a risk score. This section explains how to read and interpret that classification.
Read more about the ReversingLabs classification algorithm.
Color coding and sample status
Spectra Analyze uses consistent color coding throughout the interface to indicate sample classification and risk.

Inside each symbol is the sample's risk score. Samples with no threats found do not have a risk score.
Samples with a risk score of 5 are represented using a unique icon. The indicators found during analysis were deemed insufficient to classify the file as definitively malicious or benign. These samples have a higher chance of changing classification if new information becomes available.
Color-coded indicators appear in the following parts of the interface:
-
YARA page — statistics about ruleset matches

-
Sample Details page — as the background color of the Report Summary Header

-
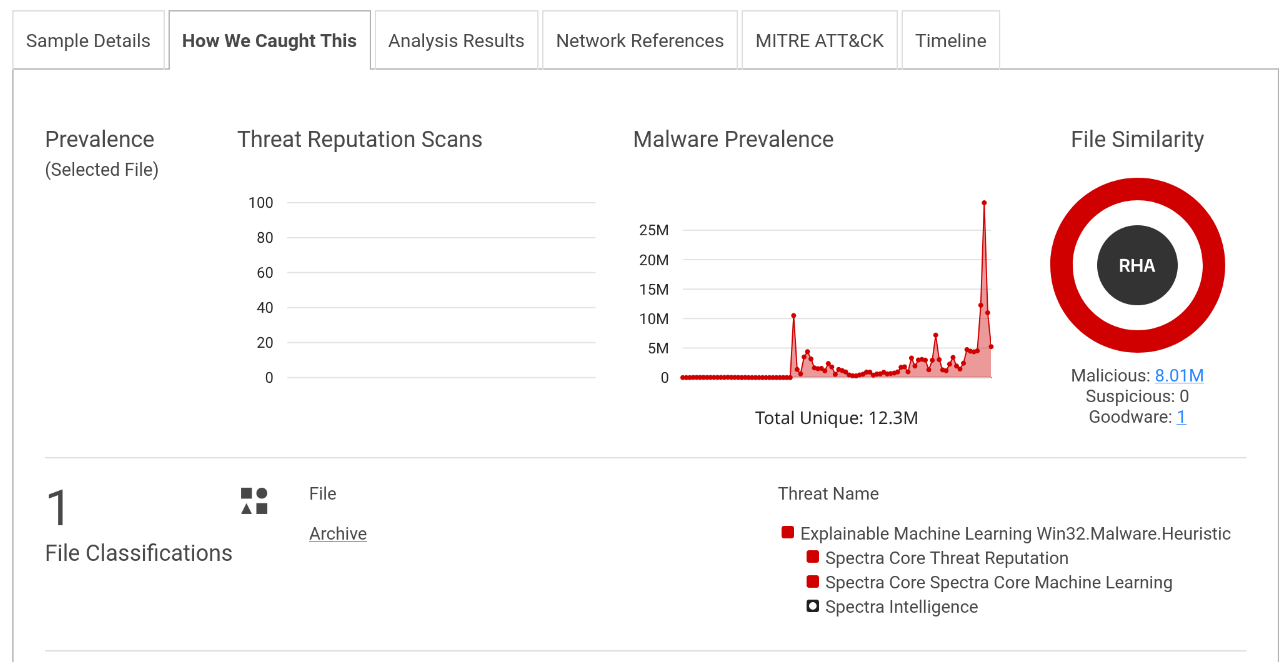
How We Caught This tab — in the File Similarity and File Classifications sections
-
URI stats — on the Interesting Strings, Network References, and Malware Configurations tabs

Understanding the risk score
The risk score is a numerical value from 0 to 10 that indicates the severity of the classification.
| Risk score | Classification | Meaning |
|---|---|---|
| 0 | Unknown | Not enough information to classify |
| 1 | Goodware | Known-clean file |
| 2–4 | Suspicious | Concerning indicators, not confirmed malicious |
| 5 | Suspicious | Insufficient indicators to confirm malicious or benign; classification may change |
| 6–10 | Malicious | Confirmed malware; higher scores indicate greater severity |
Risk scores are assigned by the severity of the detected threat. Values from 0 to 5 are reserved for samples classified as goodware or known. Lesser threats like adware get a risk score of 6, while ransomware and trojans always get a risk score of 10.
Some users may choose to ignore lower risk classifications, but those samples are still classified as malicious to warn about potential threats, such as installers that have embedded adware.
Some Spectra Analyze APIs return sample classification as a numerical value: 0 for unknown, 1 for goodware, 2 for suspicious, and 3 for malicious.
Understanding the classification reason
The classification reason specifies which technology detected a threat. Files usually have multiple detections from more than one classifier, but the classification reason tile specifies which one produced the final classification.
The final classification always matches one of the classifiers, but individual classifiers may have differing results between them. Due to differences in how different malicious samples and malware families behave, some samples might end up classified as malicious by one technology, and still be considered goodware by others. This does not negate or diminish the final classification — it is why Spectra Analyze uses multiple sources to classify files.
Overlooking the classification reason may result in confusion. For example, adding custom YARA rules to Spectra Analyze is a powerful malware hunting feature, but improperly written rulesets can be too broad and result in a large number of samples suddenly getting classified as malicious by a YARA rule, even though everything else points to goodware.
On the Sample Details page, the How We Caught This tab shows:
- File Similarity — whether the file matches known malicious or clean samples in the Spectra Intelligence database
- File Classifications — the specific YARA rules, threat names, or scanner results that contributed to the classification
Reviewing the classification reason helps you assess whether the result is expected and whether further investigation is needed.
Understanding threat propagation
Threat propagation is the mechanism by which classification spreads from a child file to its parent. When Spectra Analyze unpacks an archive or installer, it analyzes every contained object. If a child file is classified as malicious, that classification propagates upward to the parent.
This means a container file such as a ZIP archive can receive a malicious classification even if the archive itself contains no malicious code — the threat is in its contents. The Extracted Files section of the Sample Details page shows the full unpacked file tree and the classification of each object.
Administering classification overrides
Classifications can be overridden either through Goodware Overrides, where the classification of a high-trust parent sample is propagated down to extracted files, or manually by using the Spectra Analyze override feature.
If you disagree with a classification, you can override it manually. Overrides are useful when a file is misclassified due to incomplete intelligence data or when internal tooling triggers a false positive.
To override a classification:
- Open the Sample Details page for the file.
- Select Override classification.
- Select the correct classification and provide a reason.
- Select Save.
In cases where the classification was set by the user, it is considered final and displayed in the header, as well as in the table below. Local classification overrides are visible as final to all appliance users, while the Spectra Intelligence overrides are additionally synchronized with other appliances using the same Spectra Intelligence account, and other Spectra Intelligence accounts belonging to the same company, indicated by the middle segment of the username — u/company/user. In cases where a sample has both overrides, the local override is displayed as the final classification.
Overrides are visible to all users on the appliance and are logged for audit purposes. See Classification for details on how scoring works and how overrides interact with threat propagation.
Understanding the overall classification
The overall classification shown at the top of the Sample Details page represents the final verdict for the submitted file, taking into account:
- The file's own static analysis results
- Threat propagation from any extracted child files
- Any applied classification overrides
- Enrichment data from Spectra Intelligence
In most cases, analysis results are overwhelmingly biased towards a certain classification: a malicious file will be detected as such by Spectra Core and backed up by a large percentage (not necessarily 100%) of scanner detections. It will probably have an exact threat name, naming the malware type or the specific malware family. Certain file types might belong to a RHA File Similarity bucket with other malicious files. Even if such files get some negative results from specific technologies, it is highly unlikely that they are not malicious.
On some occasions, a sample classified as goodware can still have some Spectra Intelligence scanner detections, but not enough to affect the final classification. These detections are most likely false positives, but users are still advised to check the scanner list to see which scanners detected a threat.
In conclusion, while false detections are not impossible, they are much easier to identify if all of the important factors are considered and understood. For more information, see Classification and Risk Score Table.
When a file has been overridden, the interface distinguishes between the original classification and the overridden classification so you can always see both the automated result and the manual correction.
MITRE ATT&CK integration
Spectra Analyze maps indicators detected during static analysis to the MITRE ATT&CK framework. When a sample's analysis reveals indicators that correspond to known ATT&CK tactics and techniques, they are displayed in the ATT&CK section of the Sample Details page. This mapping helps analysts correlate file-level findings with adversary behaviors documented in the ATT&CK knowledge base.
Next steps
- Search for files — query your analyzed file collection
- YARA rules — write and deploy custom detection rules
- API Documentation — automate file submissions and retrieve results programmatically
- Dashboard — monitor appliance health and throughput