Setup and initial configuration
Setup and configuration checklist
✅ Ensure system requirements are met.
✅ Import the appliance image.
✅ Perform the initial configuration via console.
✅ Log in and update administrator credentials.
✅ License the appliance.
✅ Update your user profile as needed.
For assistance with Spectra Analyze setup, contact ReversingLabs Support.
System requirements
Minimum system requirements
The minimum system requirements are:
- 1 TB of SSD storage
- 8 CPU cores
- 32 GB RAM
These are the minimum resource settings, and are fine for average use with dozens of samples per day. The settings might have to be adjusted upwards depending on the expected usage.
Recommended system requirements
For heavier usage, the recommended settings are:
- 2 TB of SSD storage
- 12 CPU cores
- 64 GB RAM
Spectra Analyze configured to use the recommended settings can analyze 7 or more samples per minute. File retention should be set to 7 days, as the performance drops off by 5-10% per week with longer retention times.
Hosted instances
For hosted instances, ReversingLabs provides the following resources:
- 512 GB of storage
- 16 CPU cores
- 64 GB RAM
Hosted instances support up to 10 000 files per day with a 3-month retention period depending on the file size.
Importing the appliance image
The package contains the following files:
a1000.md5
a1000.ova
The .md5 file contains the plain text MD5 hash of the .ova file for file integrity verification. The .ova file utilizes the VMDK disk format and can be imported by ESXi version 5.5 or higher.
The following screenshots show how to import the .ova file in vSphere Version 5.5, hypervisor ESXi 5.5:


Initial system configuration via console
For physical appliances, first connect a keyboard, mouse and display to access and interact with the console menu.
When the appliance is running, either as a physical device or in the virtual environment, the following configuration screen is used to configure it after completing the installation.

To select an option, enter the menu item number and follow the prompts. The menu contains the following options:
- Change the hostname.
- Select the network interface.
- Set static IP. Mutually exclusive setting with dynamic IP via DHCP.
- Set dynamic IP via DHCP. Mutually exclusive setting with static IP.
- Configure 2 DNS servers.
- Configure up to 4 NTP servers.
- Configure SNMP and set the SNMP community string.
- Change the password for the "admin" user.
- Shut down or restart the appliance.
To restart the appliance after modifying the settings, enter the number next to Shutdown / Restart, then answer "n" to the shutdown question and "y" to the restart question.
The console configuration tool does not provide any detailed success messages in response to configuring the network settings. To continue working with the appliance after the initial setup, open the web browser and enter the appliance IP address displayed in the console configuration tool.
Network ports
The Spectra Analyze appliance supports the following ports for inbound connections:
- 80/TCP and 443/TCP for connecting to the web interface.
- 161/UDP for SNMP monitoring.
Outgoing connections to the internet via the following ports are also supported:
- 53/UDP for DNS.
- 123/UDP for NTP.
However, it is strongly recommended that users configure the system to use their own DNS and NTP infrastructure if necessary.
For outgoing connections to Spectra Intelligence at https://appliance-api.reversinglabs.com, the destination port is 443/TCP. The DNS name is appliance-api.reversinglabs.com and the connection supports HTTPS only.
IP/domain allowlisting
It is necessary to allowlist certain IP ranges and domains for connectivity with our cloud-based services. The primary range to allowlist is Cloudflare's public IP range, as outlined in their official documentation.
Additionally, allowlist the IP range 185.64.132.0/22, which covers various ReversingLabs endpoints crucial for full functionality and communication between your systems and the Spectra Analyze appliance.
Furthermore, if the Enable Spectra Analyze Networking Toolkit option is enabled, the appliance attempts to gather additional network data from trusted sources such as whois, bgpview.io, GeoLite City, and DNS services.
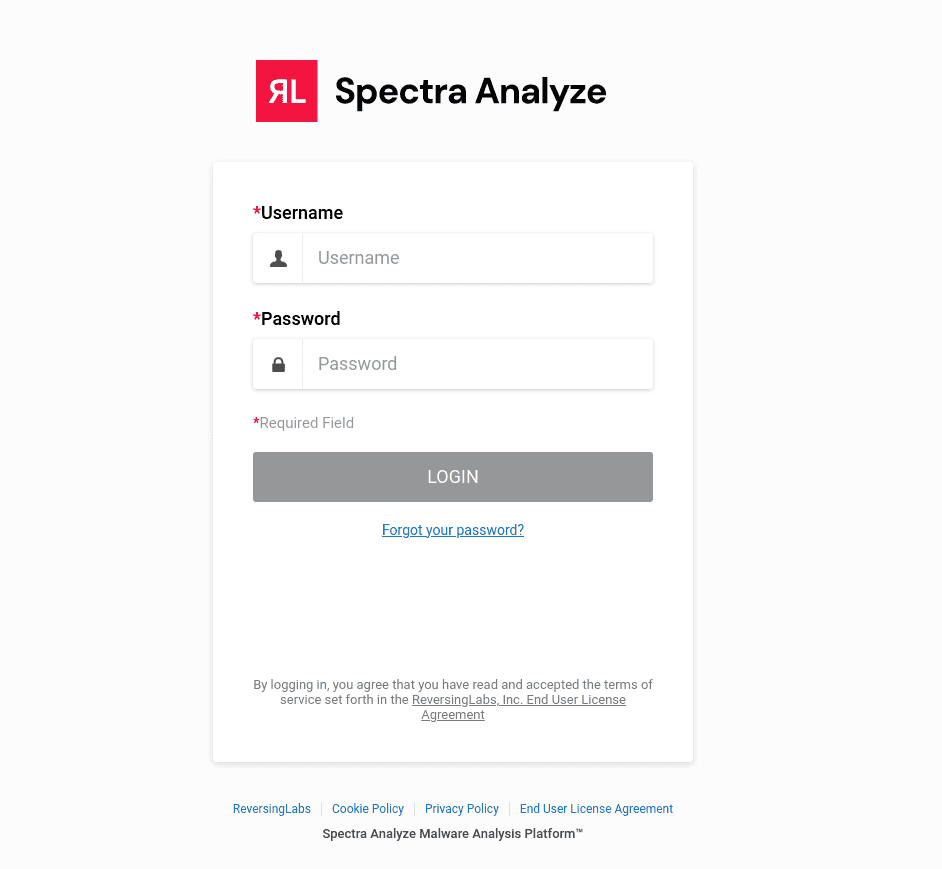
First login to Spectra Analyze
From a web browser, visit the host address configured in the Initial system configuration via console section to access the login screen of the Spectra Analyze web interface. If the Spectra Analyze is configured to support OpenID authentication, additional login options are displayed under the default login form.
Log in using the default case-sensitive administrator credentials for the Spectra Analyze web application, provided by ReversingLabs Support. Failed login attempts are recorded in the appliance logs and visible in the /var/log/rlapp/rlapp.log file.
Once the user logs in, a popup window is displayed for all accounts on the appliance. The popup contains the latest release highlights, informing the users about the changes delivered in the new Spectra Analyze version. Users can dismiss the popup, and it is not displayed on subsequent logins.
To view the popup again at any time, go to the appliance footer, and click What’s New.
Change default administrator credentials
Password
After logging in, look for the password change notice at the top of the page. Click the your password link and change the administrator account password in the dialog that opens. Alternatively, from the top navigation bar go to the 👤 > User Profile page with additional configuration options, and update your password from there.
If password requirements are configured on the appliance under Administration > Configuration > Configuration & Update > Authentication, the new administrator account password must comply with them.
Email
The email address associated with the default administrator account should also be changed. If you need to reset your password, on the Login screen, click the Forgot your password? link. The emails sent from the appliance go to the email address associated with the administrator account.
To change the email address, go to Administration > Users & Personalization > Users and search for the "admin" user. Click it to open the Change user dialog and modify the email address specified there.
Appliance licensing
On first login after installing or updating the appliance, the appliance must be licensed.
For detailed instructions, see Licensing.
User Profile
To update the current user's profile, go to 👤 > User Profile.
The User Profile page contains options for configuring the profile of the user currently logged into the appliance, and for managing alert subscriptions.
Profile
Under Profile, modify the current user's profile. Apart from setting a first name, last name, and email address, users can also change the password for logging into the appliance.
If password requirements are configured on the appliance, the new user account password must comply with them. The Profile section displays a warning if the new password does not satisfy the configured password requirements.
To save your changes, click Submit.
Alerts Configuration
Under Alerts Configuration, you can see all alert subscriptions for the current user. For more information, see Managing Alert Subscriptions and Delivery Methods.