Azure Registration for Microsoft Graph Connector
Overview
This page demonstrates how to create and configure an app registration in Azure for using the Microsoft Graph connector. It also shows you how to obtain the credentials required by the Graph API connector configuration UI.
Registering the App in Azure
-
Sign in to the Azure portal and go to Entra ID.
-
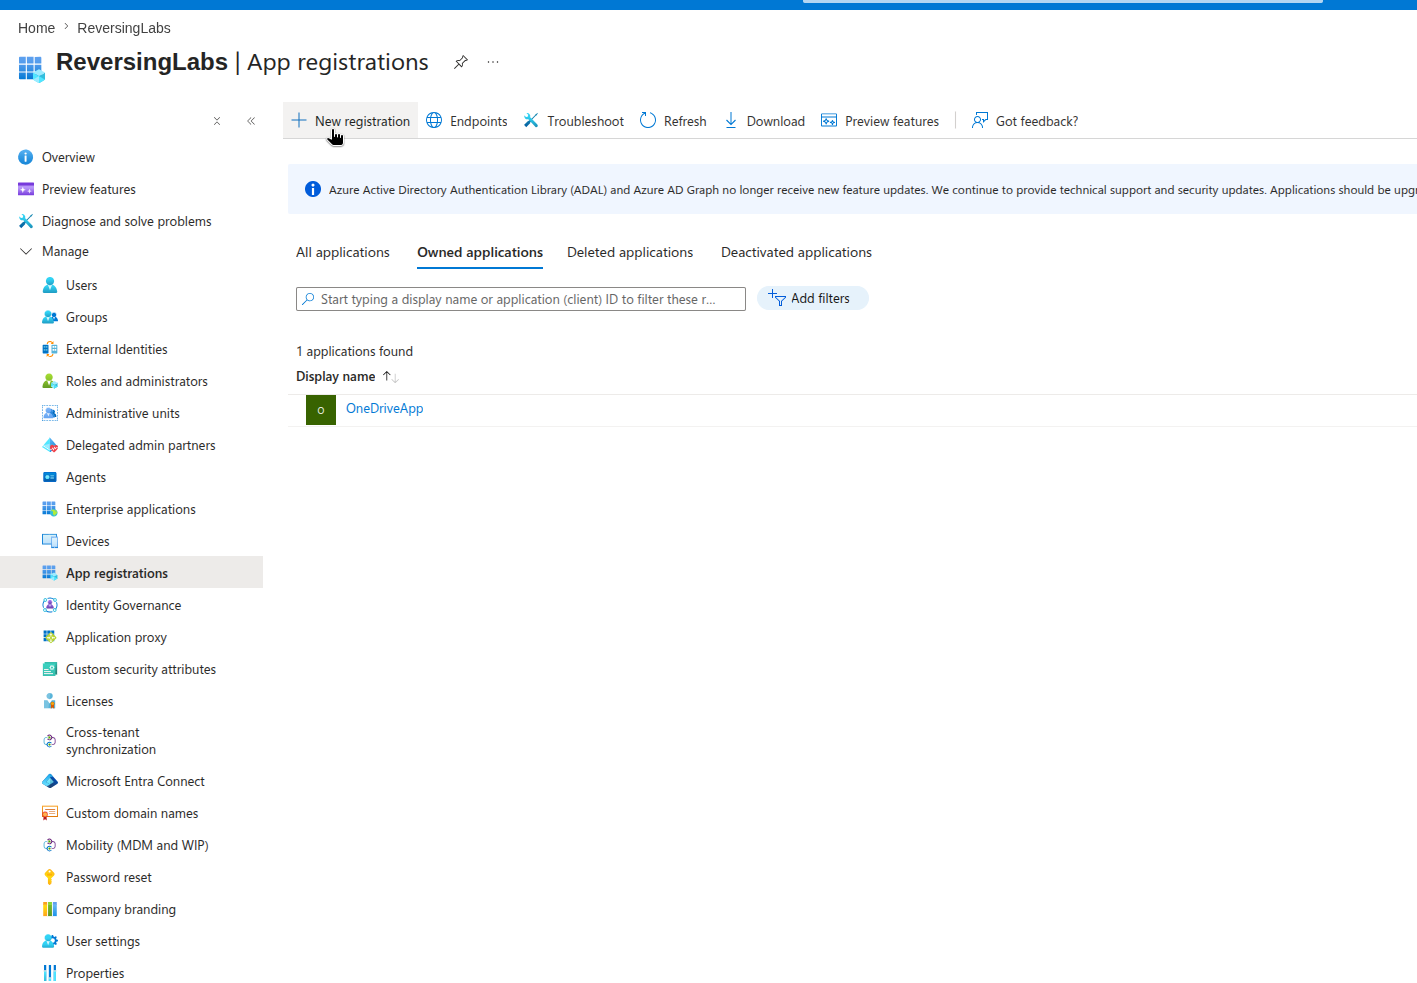
Go to Manage > App registrations and click New registration.
-
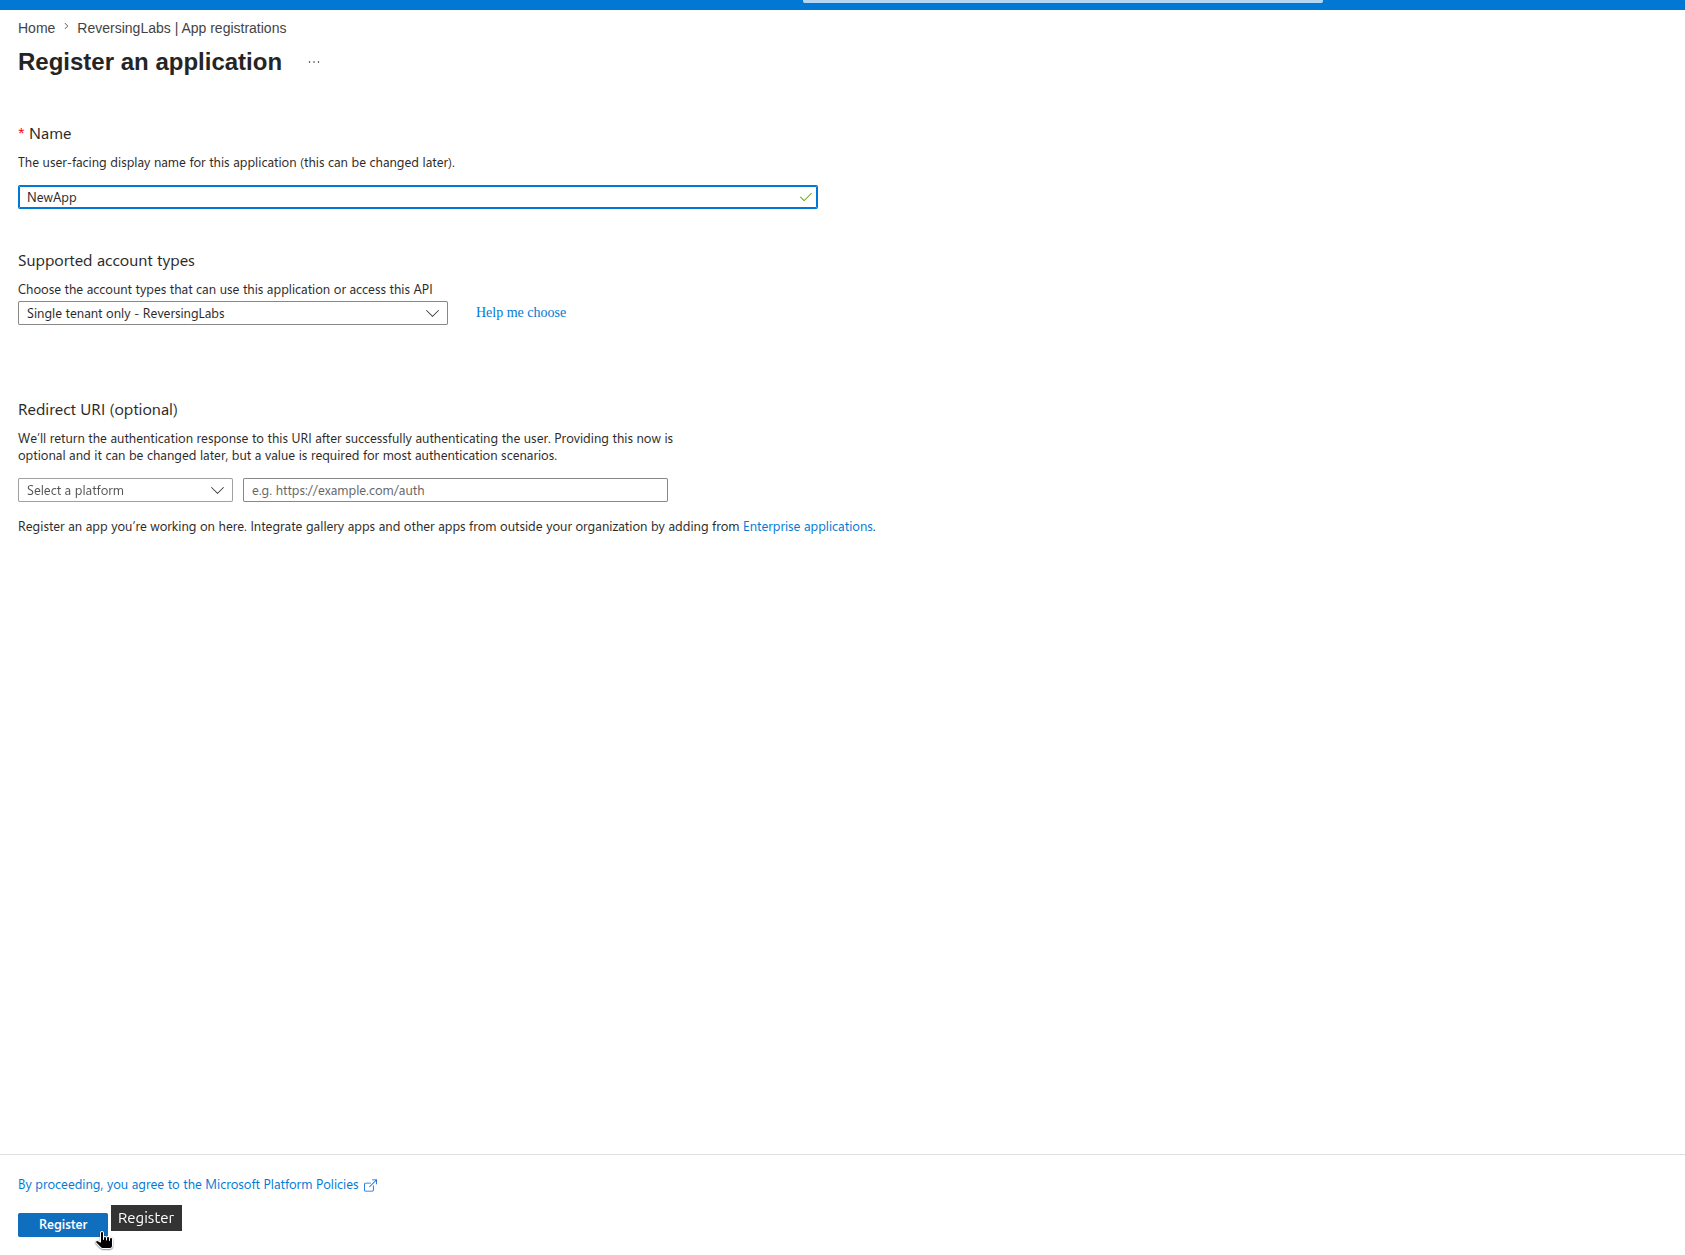
In the Register an application section, enter the name for your application, and under Supported account types select Single tenant only.
-
Click Register. This will take you to the overview section of your new registered app.
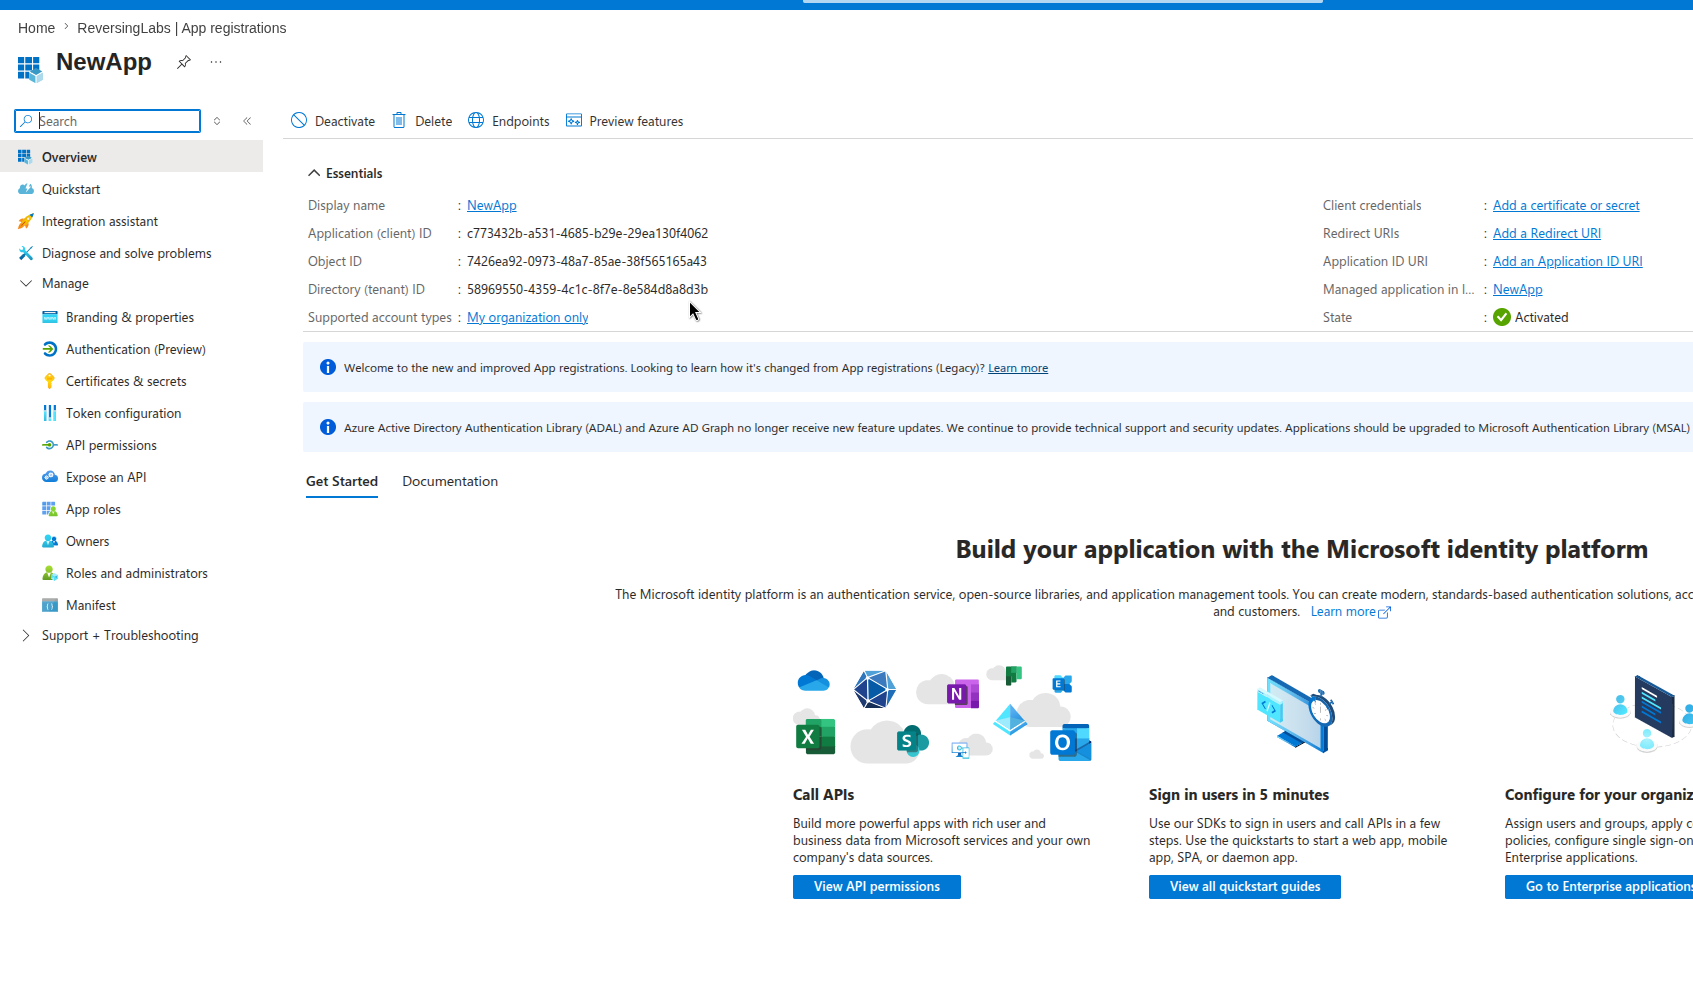
- On the overview page, find your Client ID and your Tenant ID from the Essentials section and note them down.
-
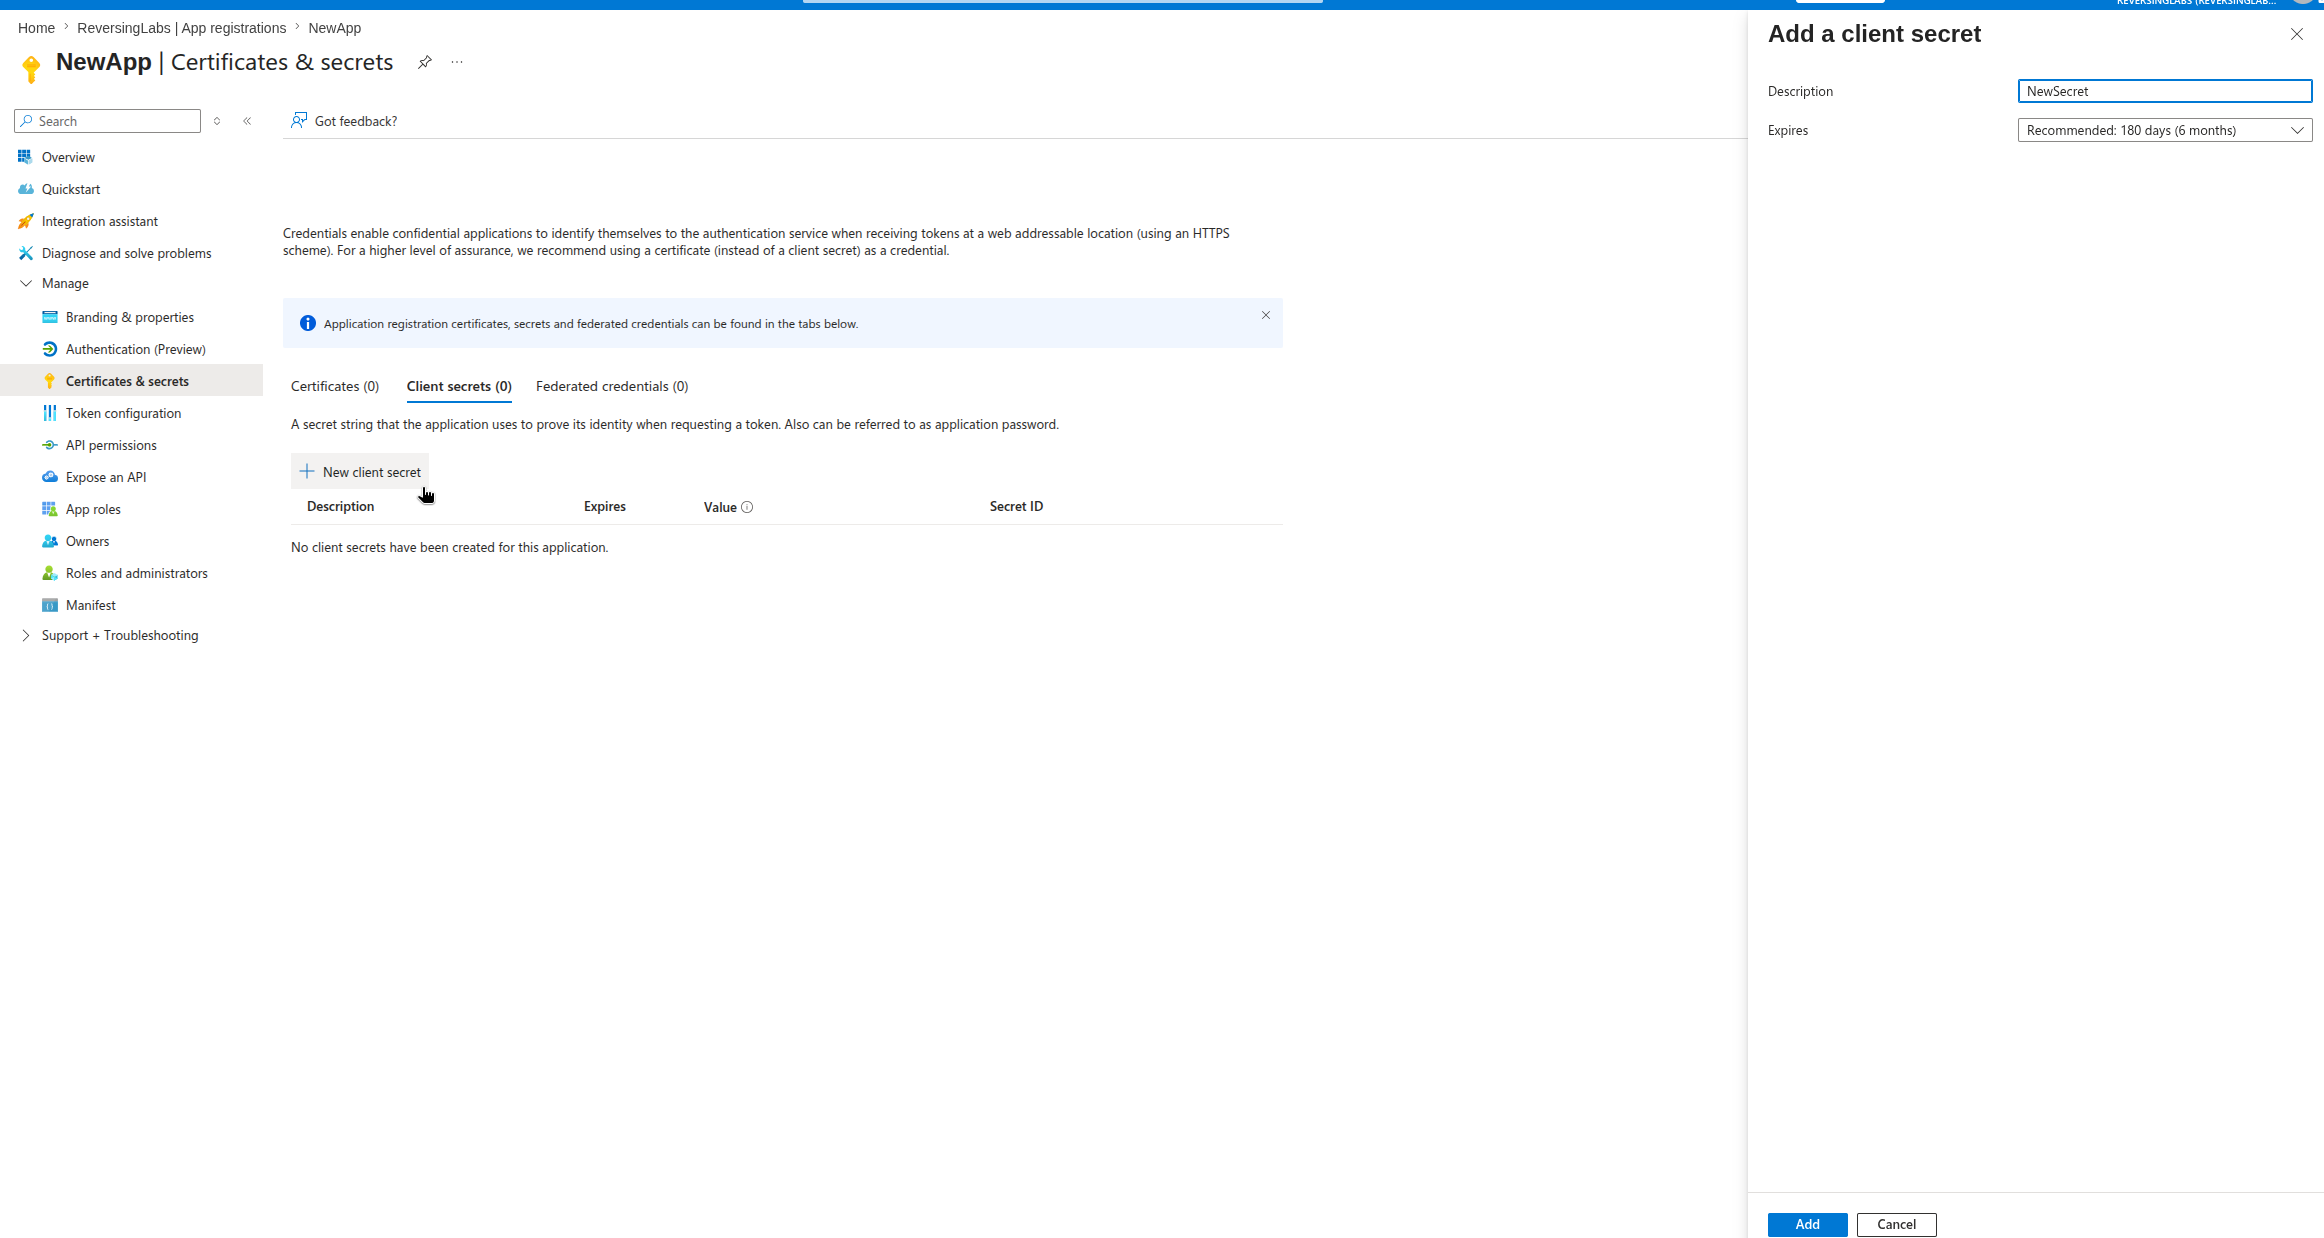
Go to Manage > Certificates & secrets and click New client secret. This opens a panel in which you can create a description (name) for your new app secret and define its expiration time.
-
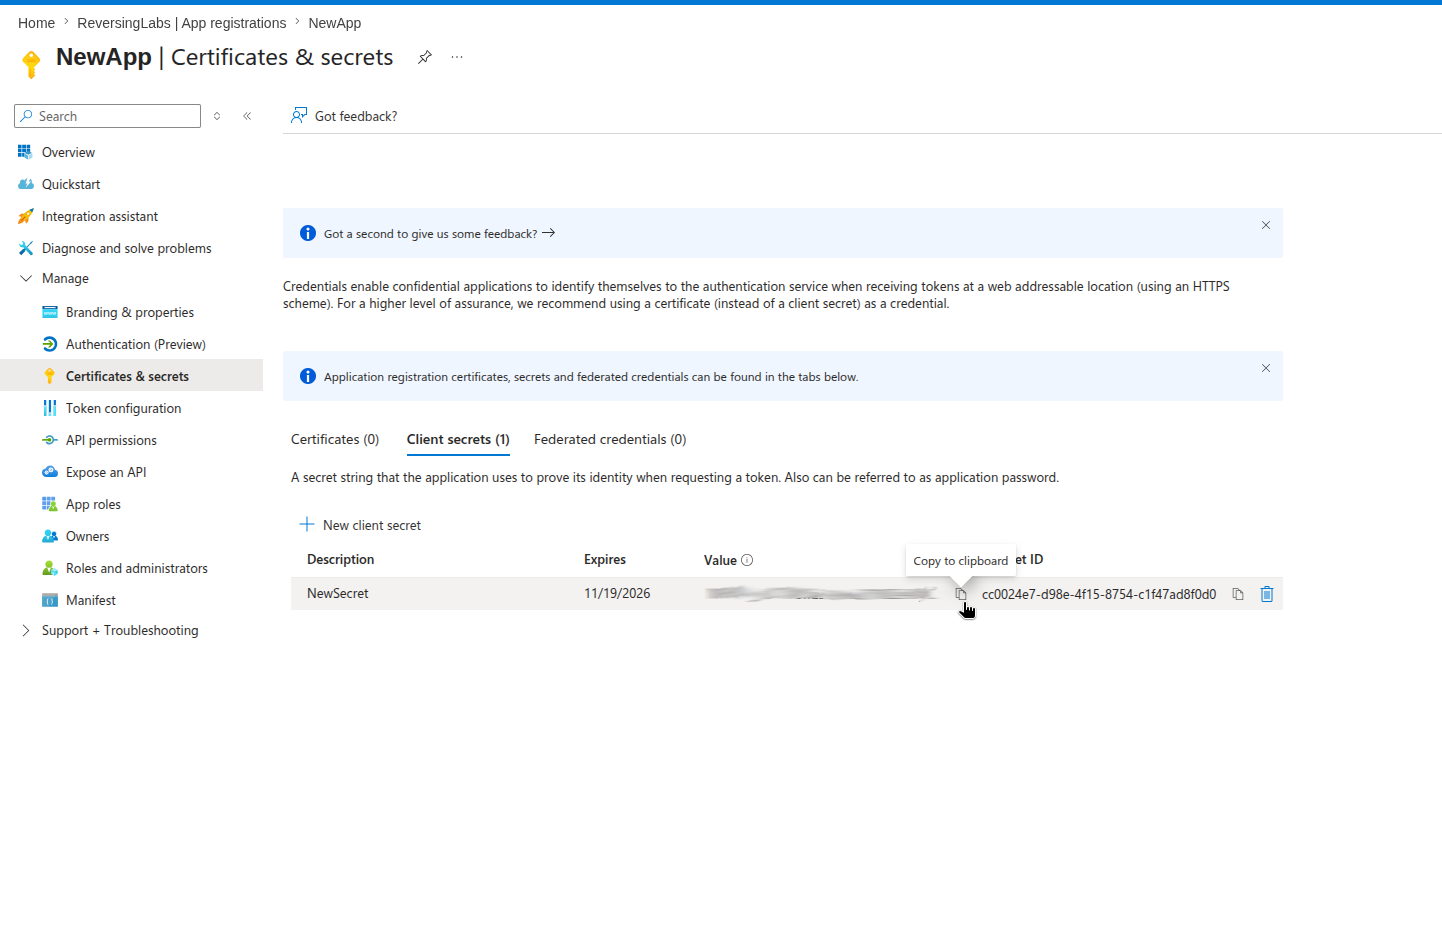
Click Add to generate a Secret ID and a Secret value.
Make sure you store your Secret value now as you won't be able to retrieve it after you leave this screen. This value will hereafter be referred to as the Client secret.
- To store your Client secret, click the Copy to clipboard icon next to the Value field and store it for later use.
Adding and activating permissions
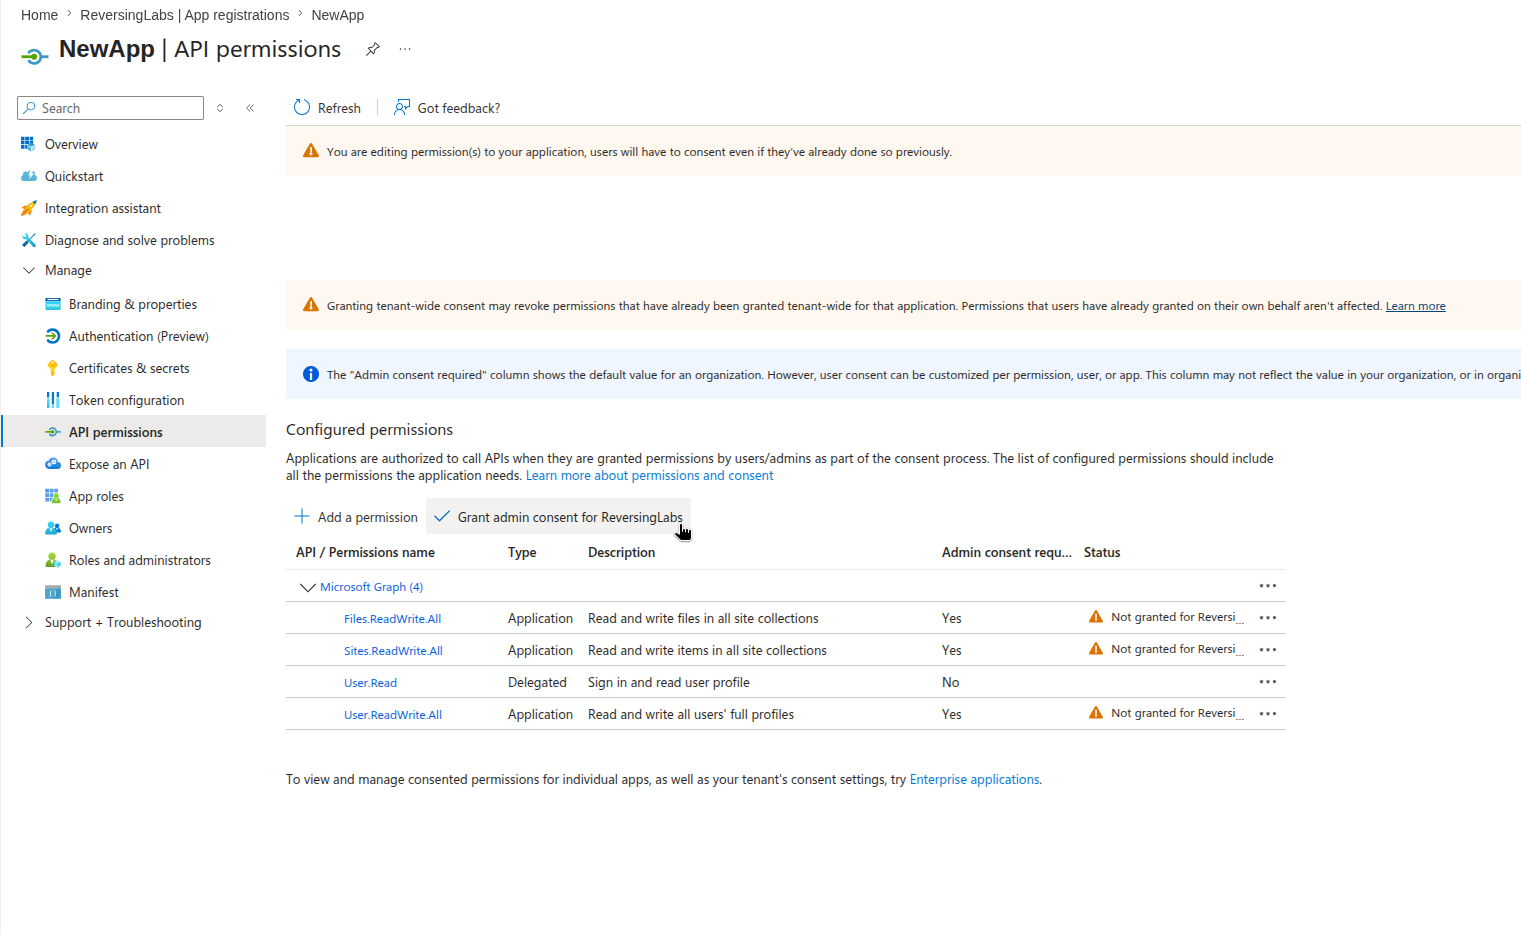
- To add permissions, go to Manage > API permissions and click Add a permission. This opens a Request API permissions panel in which you can search for the permissions required by the MS Graph API connector.
The following permissions are required:
OneDrive/Sharepoint
- Files.ReadWrite.All
- Sites.ReadWrite.All
- User.Read.All
AbuseBox
- Mail.ReadWrite
- MailboxFolder.ReadWrite.All
- To search for required permissions, in the Request API permissions panel, click the Microsoft Graph section and select Application permission. Type the permission name into the search bar, find and select all required permissions, and click Add permissions to add them to your app.
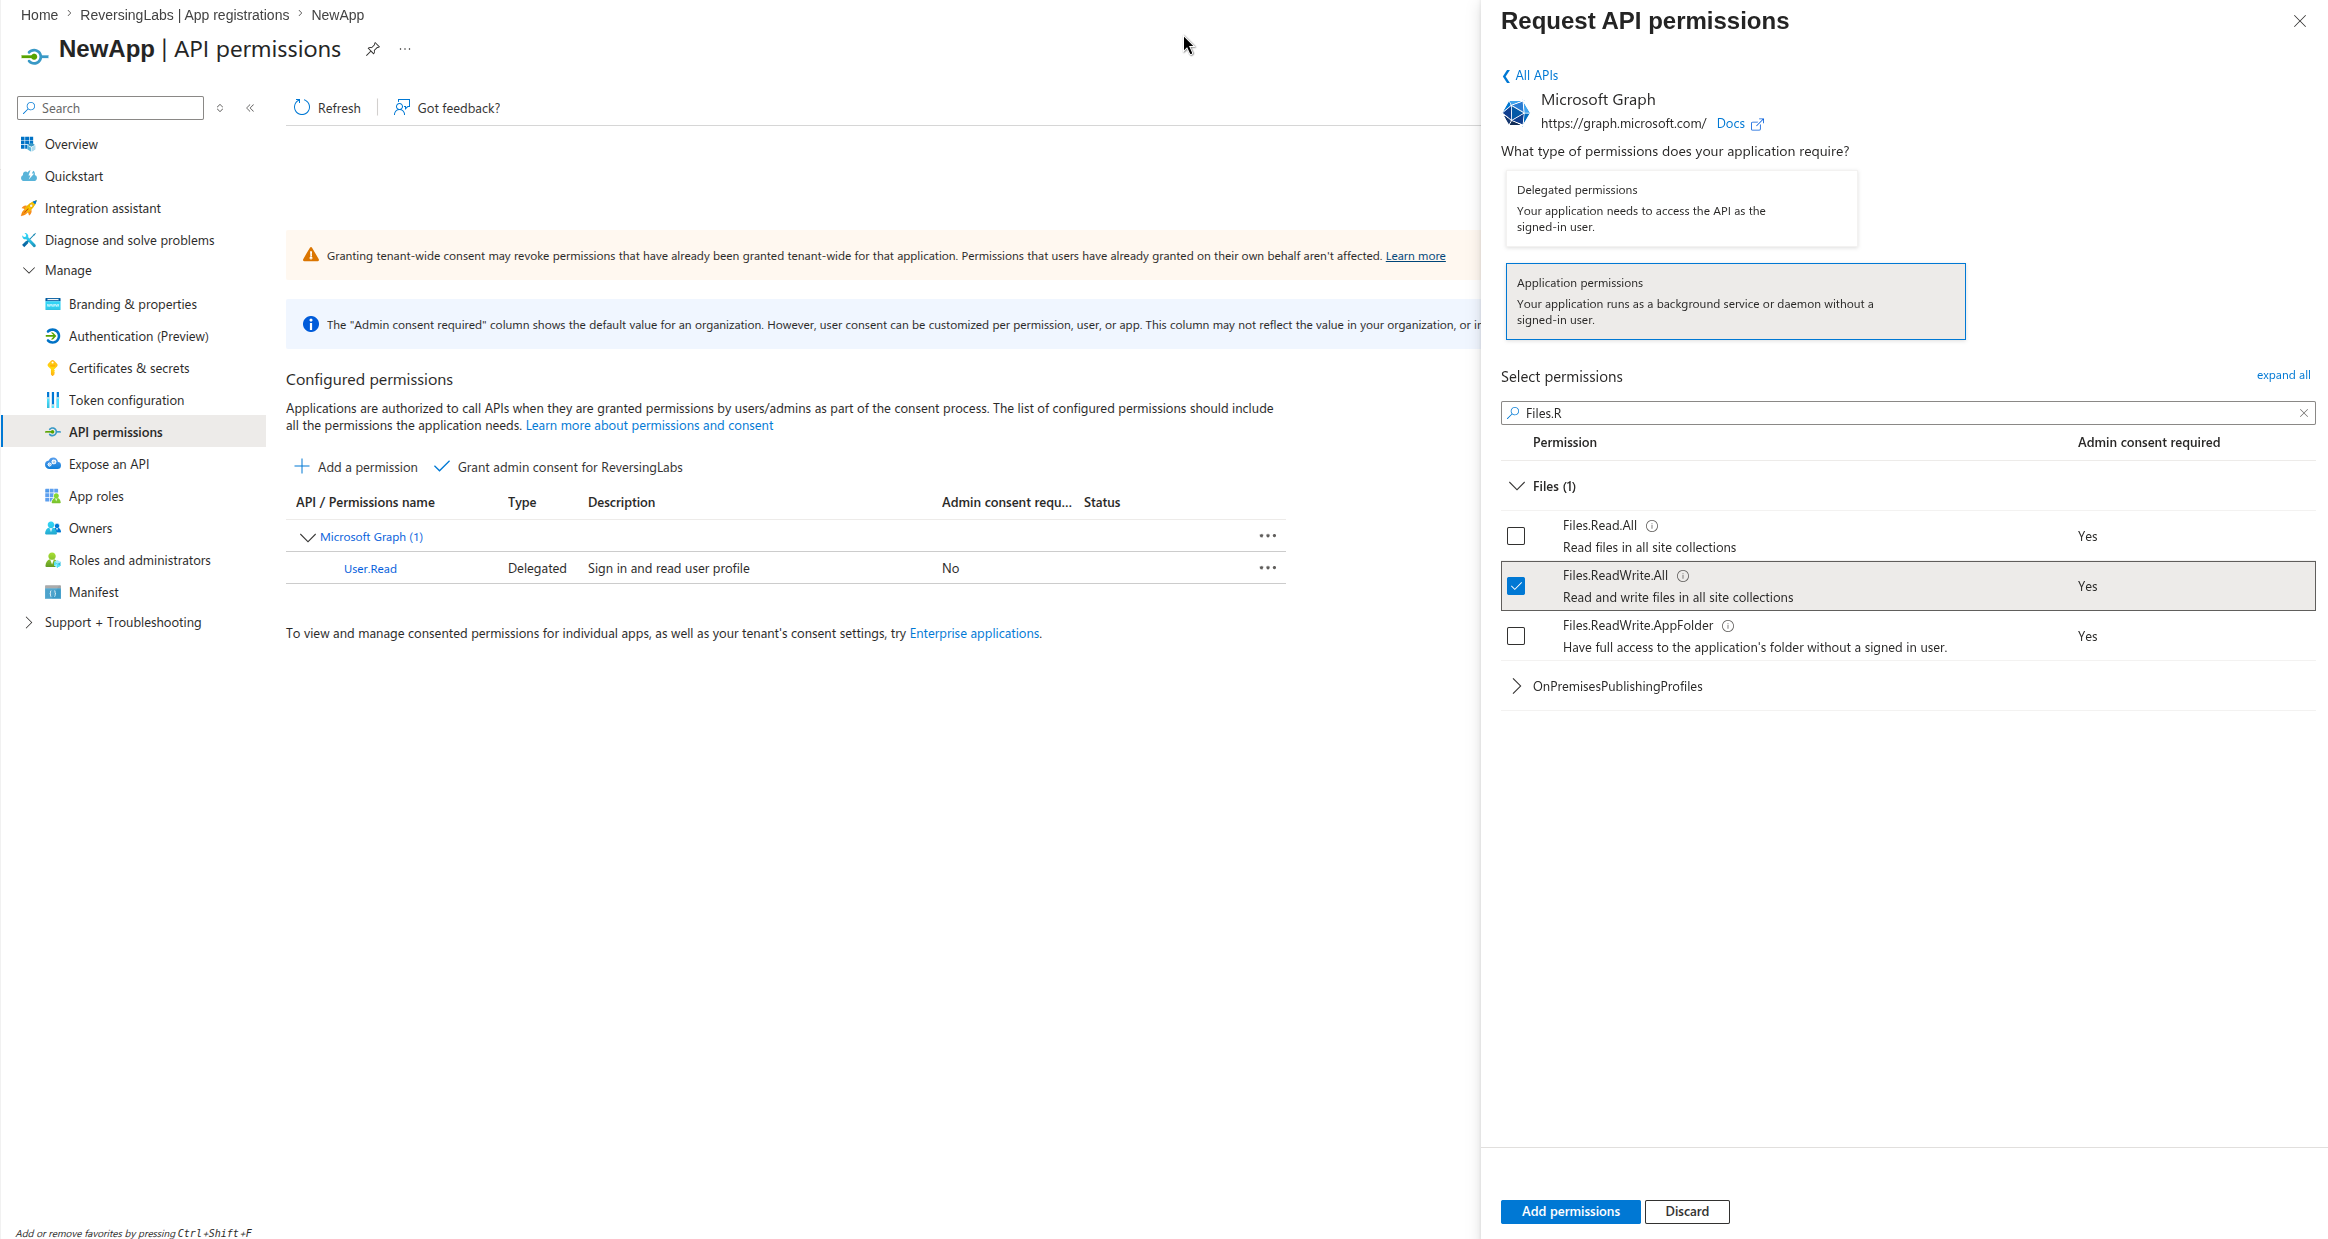
- After adding the permissions, go to Manage > API permissions and click Grant admin consent for [tenant name] to activate them.